Industrial Fires: The 5 Common Causes
The 5 Common Causes of Industrial Fires
Loss prevention is always a top priority for most businesses and industries. One of the most devastating losses is an industrial fire.
According to the National Fire Protection Association (NFPA), an average of 37,000 fires occur yearly at industrial and manufacturing properties. The number of fatalities is extremely limited – just one or two deaths per year on average. However, the costs for loss of inventory and damages make up around $500 million in a year.
Below are the five main causes of industrial fires to help manage risk:
1. Combustible Dust
Combustible dust is a common cause of fire in industrial facilities. This can include dust from metal or coal processing, or even sawdust.
This type of fire occurs when combustible dust is suspended in the air instead of being allowed to settle on a surface. When this happens, the dust particles can ignite and cause an explosion. Once it has been ignited, the fire will spread quickly as it is spread by air currents in the building.
How to prevent combustible dust fires?
- Inspect for dust regularly, especially in hidden areas.
- Use a dust collection system to avoid buildup.
- Use cleaning methods that won’t create dust clouds.
- Control smoking, open flames, and sparks.
2. Hot Work
Hot work is a term used in the industry to describe processes that involve heating and welding materials. This type of work often produces sparks, which can ignite flammable materials nearby.
How to prevent hot work fires?
- Train employees in safety procedures.
- Provide employees with proper safety equipment.
- Clear work area of any flammable materials, including dust, gases, and liquids.
3. Flammable Liquids and Gases
This is the most common cause of industrial fires, accounting for about 40% of all incidents. Many flammable liquids are used in manufacturing processes, including diesel fuel and gasoline. These fuels can cause fires if they leak or if they are spilled on hot machinery or equipment.
How to prevent flammable gas fires?
- Be familiar with the risks of each flammable liquid and gas on-site.
- Read and follow the safety information for storage, and consult the material safety data sheet that comes with the product.
- Store hazardous materials properly, in accordance with OSHA standards.
- Keep ignition sources away from flammable gases and liquids.
- Provide employees with personal protective equipment as needed.
4. Equipment and Machinery
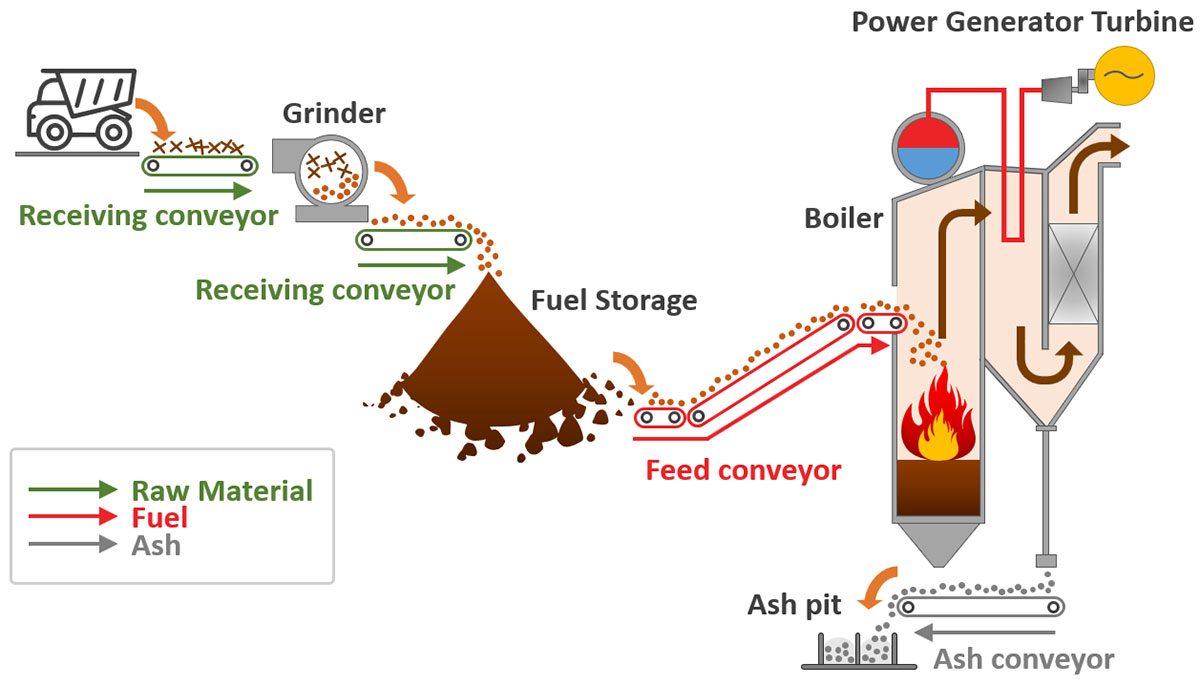
Equipment malfunctions are another common cause of industrial fires. Furnaces, boilers, and related heating equipment all have the potential to ignite when not maintained properly.
How to prevent equipment fires?
- Train employees on how to identify possible risks and what to do if they find one.
- Keep machines, equipment, and areas surrounding them, clean and clear of flammable materials.
- Prevent machine overheating by following guidelines for recommended maintenance procedures.
5. Electrical Hazards
Electrical fires include wiring that is exposed or not up to code, overloaded outlets, extension cords, overloaded circuits, or static discharge.
How to prevent electrical fires?
- Don’t overload electrical equipment or circuits.
- Unplug temporary equipment not in use.
- Avoid using extension cords.
- Use antistatic equipment as advised by OSHA and NFPA.
Prevent Fires and Explosions
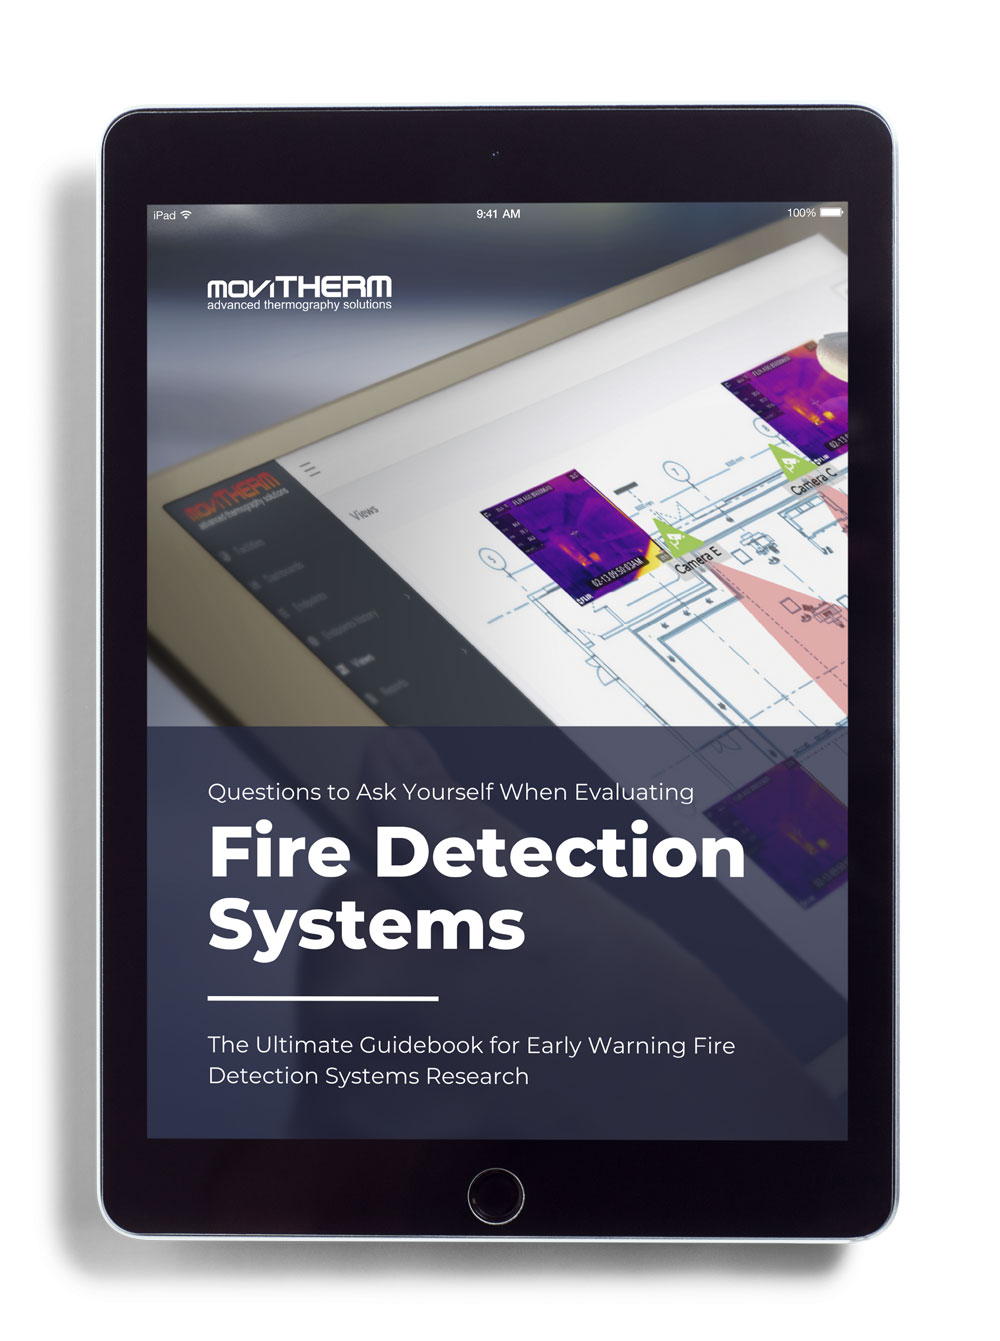
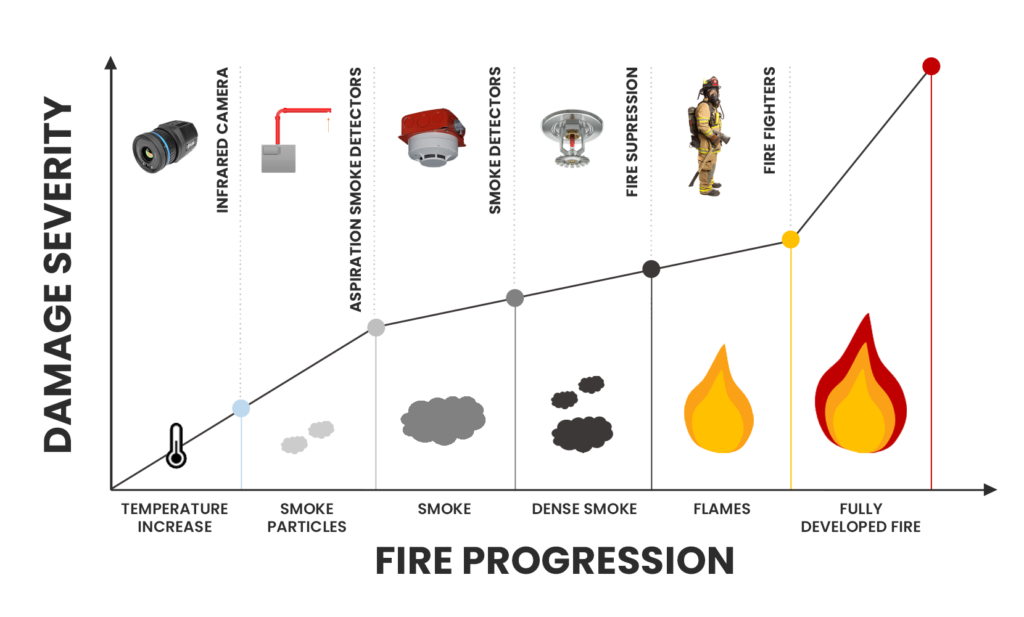
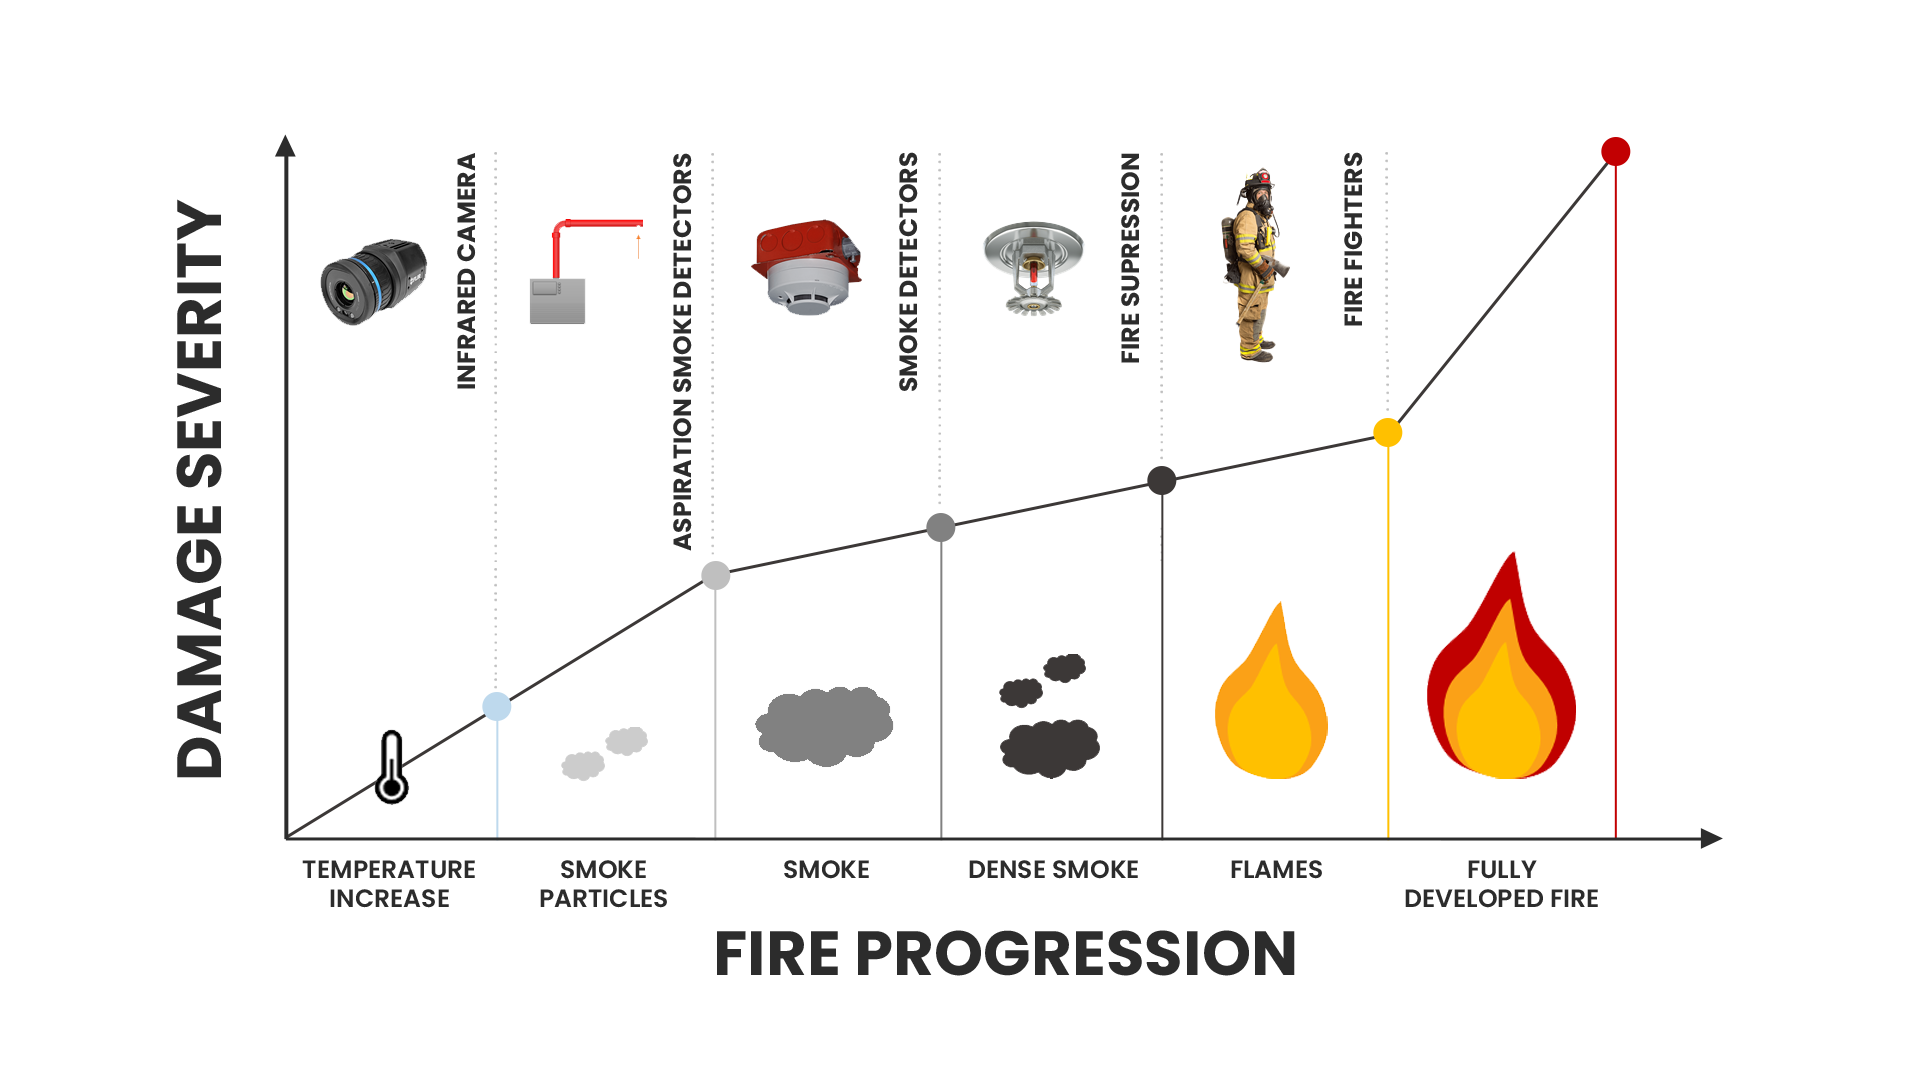
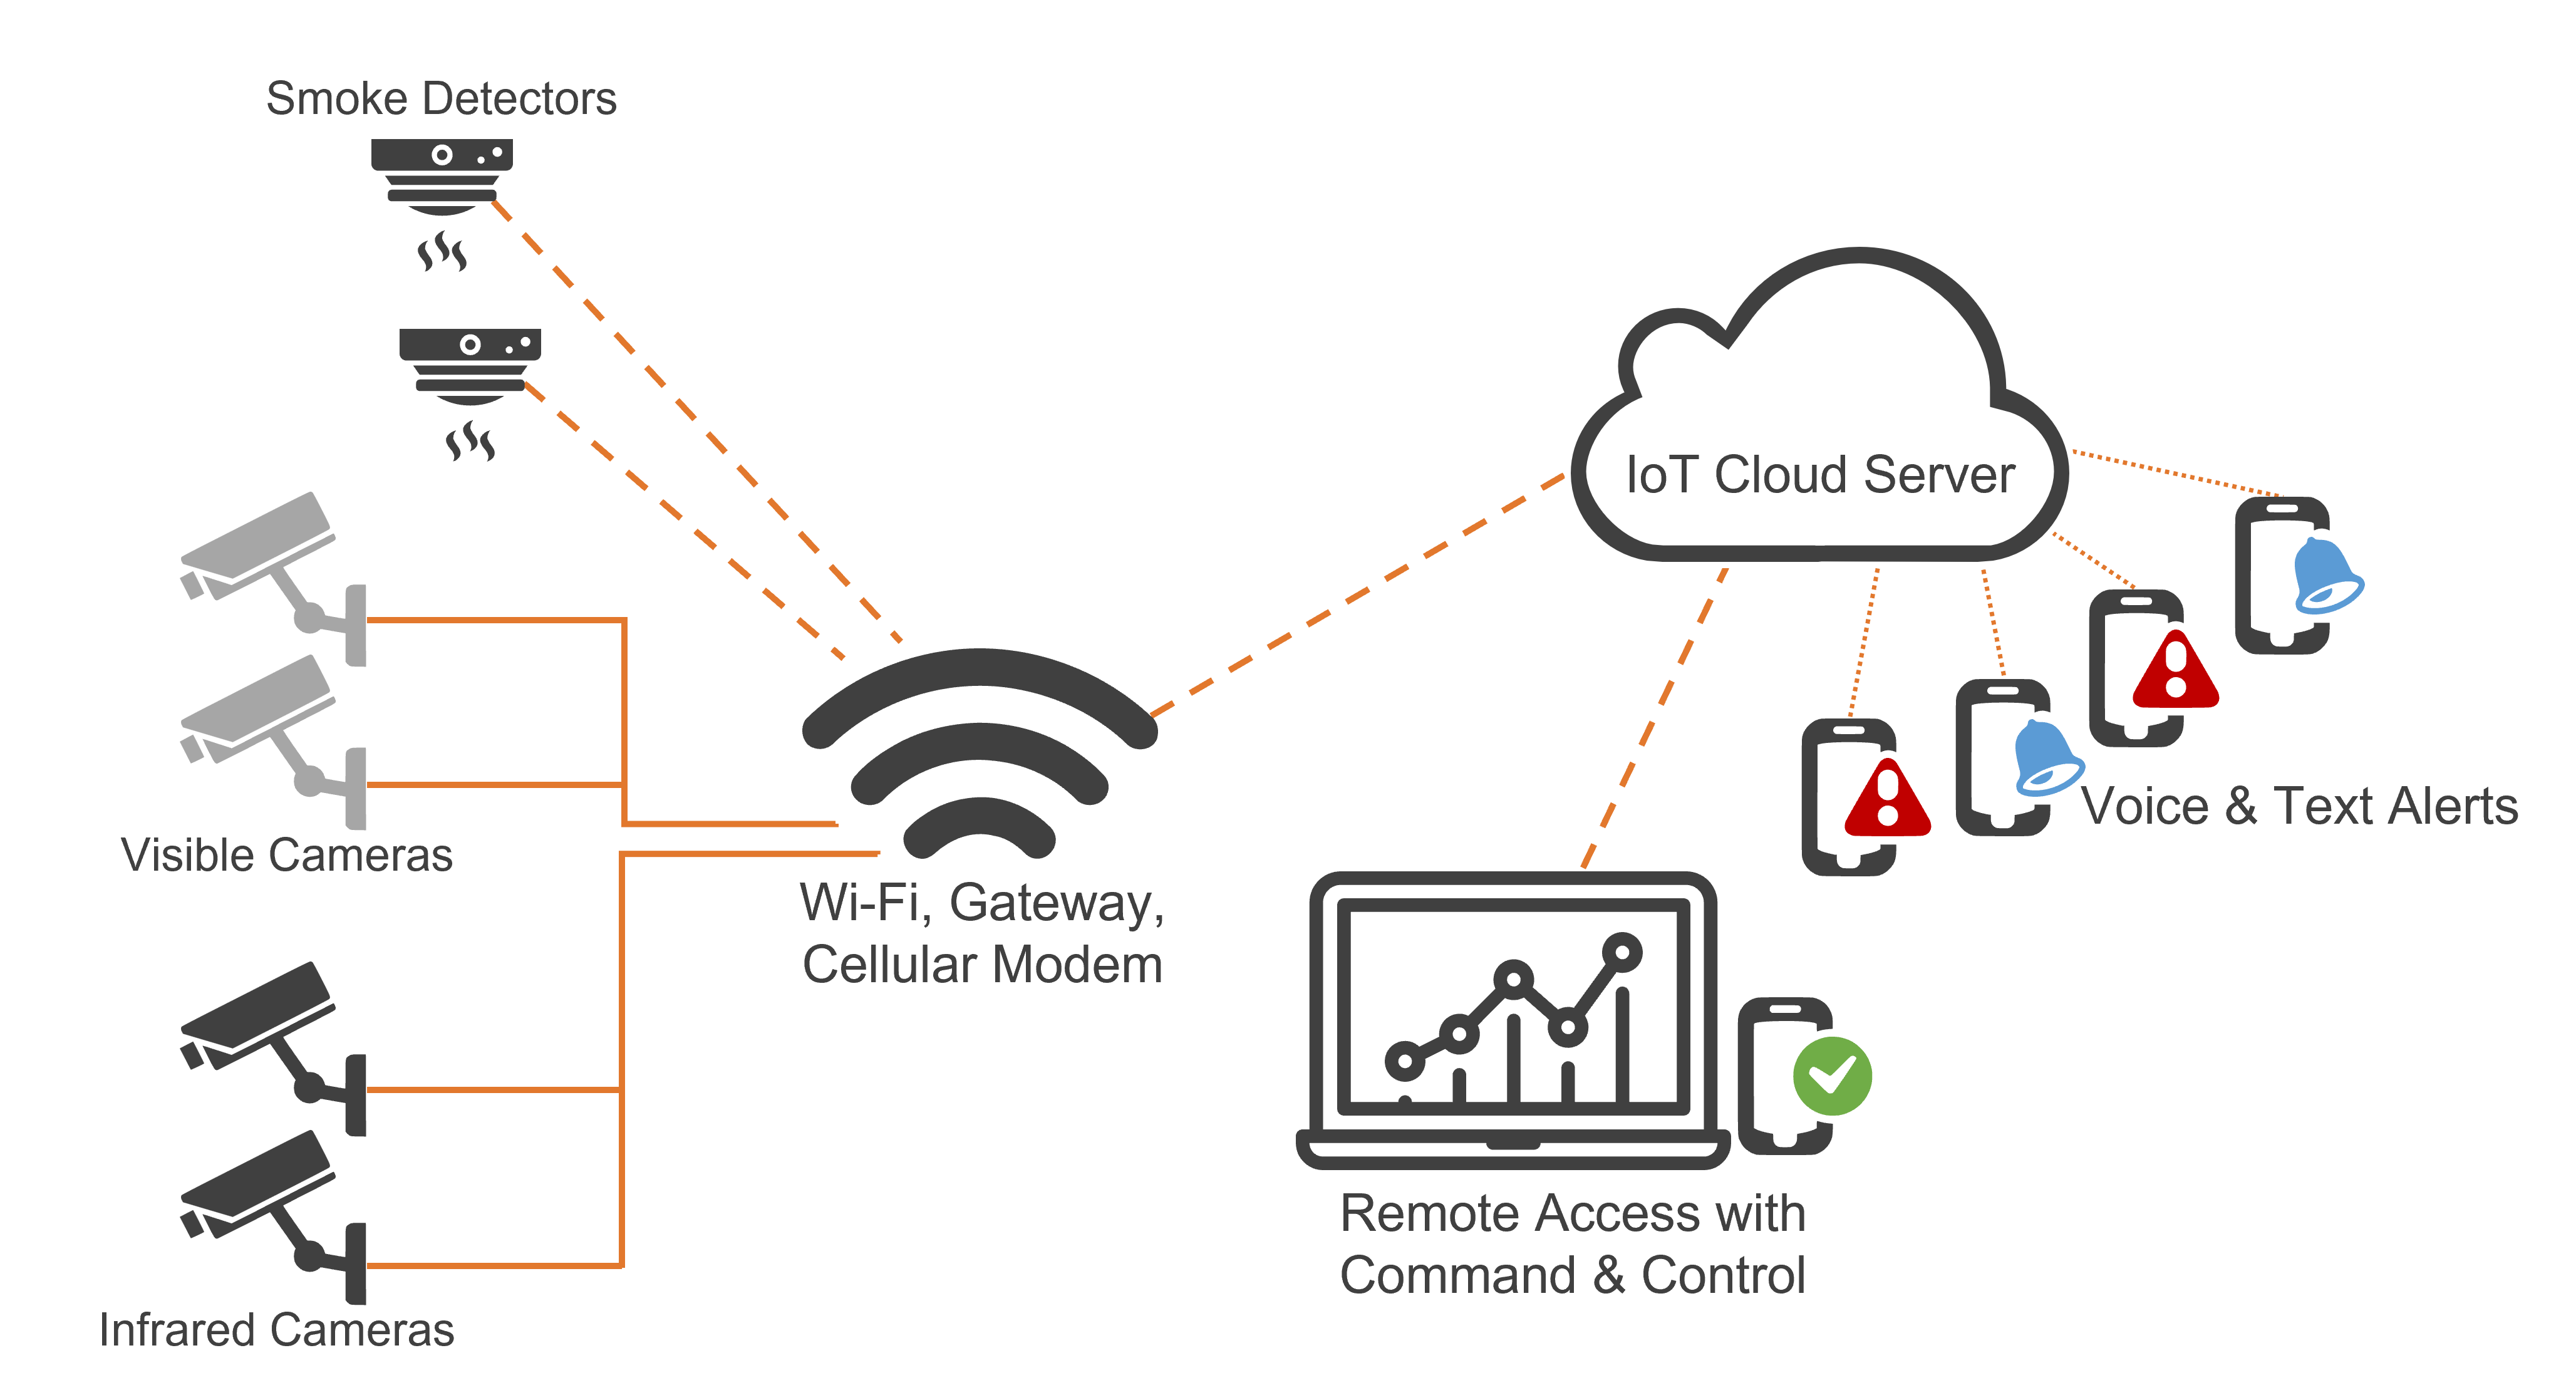
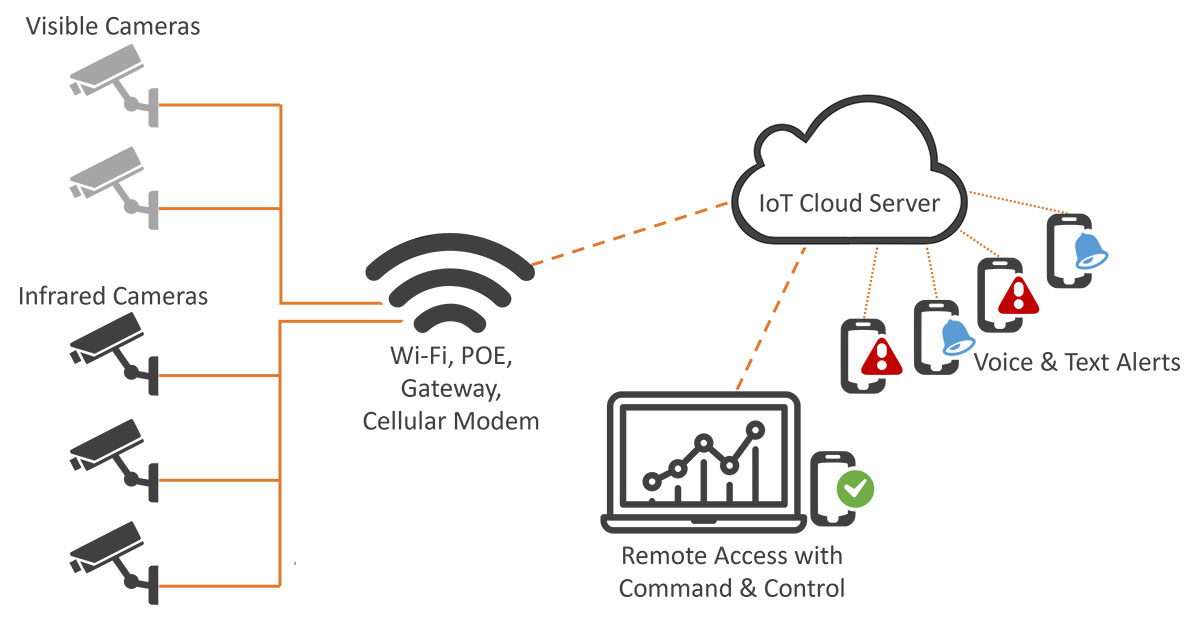
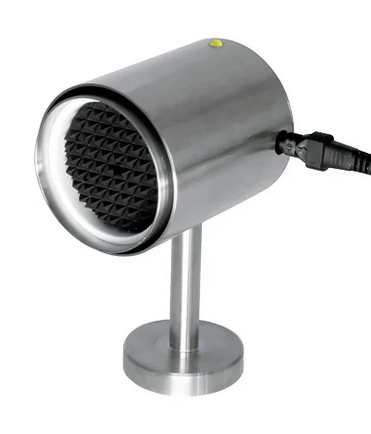
A fire is a dangerous situation that can be difficult to get under control and stop. Sometimes following all proper safety guidelines isn’t enough to prevent a disastrous loss. Intelligent early fire detection systems such as, MoviTHERM’s iEFD, detects fire before the appearance of smoke, giving employees time to respond quickly and put out the blaze before it causes any real damage.

