Machine Vision Trends (1 / 2)
Most Noticeably There Is a Move Into The Third Dimension.
December 16, 2015 | Markus Tarin | Quality Magazine
Recently, I was taken aback by several press releases claiming that Sony has apparently indicated its plan to discontinue the production of all CCD sensors by 2017. However, a lot of controversy is surrounding this announcement, followed by several companies pulling their press releases pending official word from Sony. Nevertheless, whether now or later, this move by Sony is not necessarily entirely unexpected.
I still remember the unavoidable argument of CCD vs. CMOS—which one is better? In recent months, CMOS technology in the image sensor market has pretty much surpassed CCD sensor in dynamic range, speed, resolutions and other areas. An ‘EOL’ or end of life announcement of any major technology is certainly a disruptive event. Entire camera product lines will be affected and drop-in replacements may not be very straight forward using CMOS detectors due to differences in pixel pitch and sensor sizes amongst a slew of other things. Some government contracts may have stipulations that suppliers have to guarantee the availability of replacement products for another seven to 10 years. In any case, this development is just one more indicator in the machine vision industry that things are changing. It is yet one more differentiator soon to be removed from the product offerings of machine vision (and other) cameras.
Nowadays, most features that make up machine vision camera offerings are driven by the built-in features of the imaging sensor. Almost all machine vision camera manufacturers rely on a handful of image sensor suppliers. There are a few exceptions which still fabricate their own sensors. Only a handful of sensor manufacturers supply this market. Hence it is becoming increasingly difficult for camera manufacturers to find meaningful ways to differentiate their offerings. Some try to sway the purchase decision by advertising the best technical support or an extended warranty, others have “all” cameras in stock. When comparing several machine vision cameras from different vendors that employ the same image sensor, one is left with very little pros and cons in a feature comparison table. Whenever this happens, it is indicative of a commoditization of the offering. At this stage the consumer notices a steady drop in prices, because in reality, that is the only ‘true’ differentiator left to compete with.
What does this mean for camera manufacturers? Well, their business has reached the maturity point in the life cycle. Organic company growth is slowing down. The industry witnesses more mergers and acquisitions in order to artificially create growth and appease their shareholders. Survival of the fittest. Other companies try to identify new and upcoming trends and attempt to align their companies to hopefully start a new business cycle with healthier profit margins.
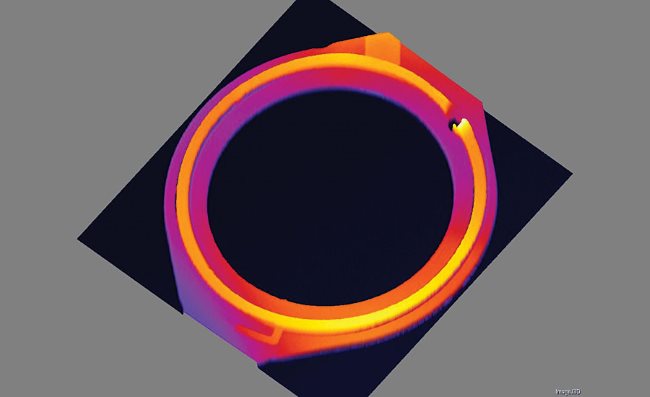
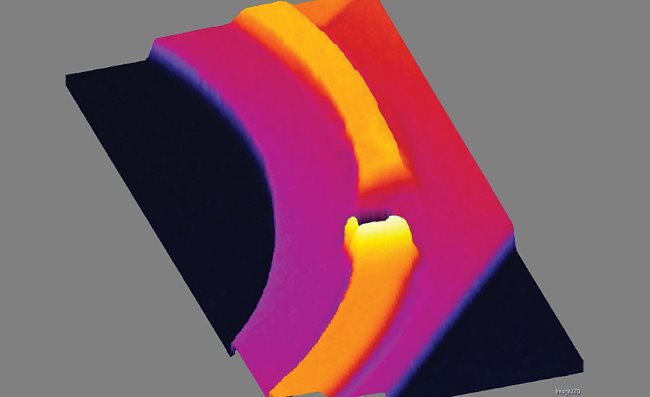
So, what are the new and upcoming trends in this arena? Well, from a sensor and camera perspective, there are a few. Most noticeably there is a move into the third dimension. Three-dimensional imaging is gaining more traction. There are several technological methods to produce a 3-D representation of the image that a camera captures, such as stereoscopy, using structured light, time of flight and laser triangulation. For machine vision applications, laser triangulation seems to have the most favorable feature set. It is able to quickly scan parts with sufficient field of view sizes and produce image detail in the single to double digit micrometer range. Most companies that have entered this market offer so-called compact sensors. These include a camera, laser and optics in a protective housing paired with some 3-D machine vision software. Others offer an external, embedded machine vision system.
There is another approach to laser triangulation and that is using a separate camera, lens and laser, rather than the integrated sensor solution. This provides the user and integrator with more flexibility for their application. Currently, there is still a lack of 3-D machine vision software packages on the market. At least one company has taken on that task for a commercially available software package. There are a few open source examples as well. It is not that there is no other 3-D imaging software available, but most other offerings are tied to specific 3-D cameras or sensors from the particular manufacturer offering the software. In other words, it is useless when you try to combine that software with somebody else’s 3-D sensor.
These rather new 3-D imaging sensors and systems are still partially based on the same 2-D imaging technology, generally speaking. As such, the path to commoditization is going to be shorter than it has been in the 2-D imaging world. Nonetheless, there is clearly still ample opportunity from a software and systems solutions perspective.
While 2-D and 3-D product companies are “duking it out,” another technology is more or less silently entering the machine vision arena:
thermal imaging.
Whenever a product line is heading towards commoditization, manufacturers broaden their product portfolio. This typically happens via acquisition and mergers, since the innovation cycle is too costly and bears many more risks. There is at least one player in the machine vision arena that has recently added thermal imaging products to its portfolio.
Although not a new technology by any stretch, it took a lot of years for thermography to drop enough in price in order to be viable. Earlier thermal imaging cameras were cost prohibitive, too large and not rugged enough for a 24/7 industrial imaging application. Other factors that played a role in the exclusion of thermal cameras for a long time were the available spatial resolution and proprietary communications interfaces.
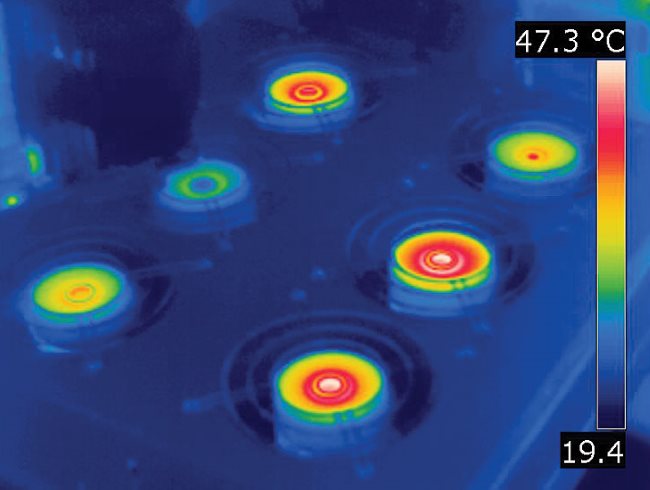
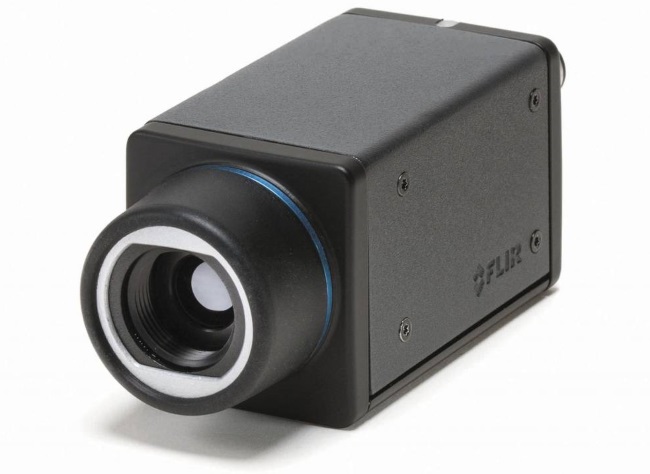
This now all has changed, as thermal imaging companies have entered the machine vision market and are now offering a complete product line with Gigabit Ethernet, Camera Link and other standard interfaces, supporting machine vision protocols. Although the highest spatial resolution is currently still not better than VGA (640 x 512) for uncooled microbolometer detectors, it has opened up a lot of applications that could previously not be solved with traditional machine vision cameras. If you think about it, heat is omnipresent in most manufacturing processes, if not as a desired process variable then as a physical byproduct.
Thermal imaging, or better thermographic imaging, a method to derive calibrated, absolute temperature readings from your scene is a rather different animal all together.
Thermal cameras can be separated in two main categories based on their detector technologies: microbolometer based cameras and photon detector based cameras. A microbolometer detector is a MEMS device. A grid of pixels where each pixel is comprised of either Vanadium Oxide (VOX) or amorphous Silicon. It is essentially a miniature version of thermocouple in a sense, responding to radiated heat, rather than photons of a particular wavelength. Bolometer cameras are typically sensitive in the 8 to 14 spectral range. This is quite far removed from the visible spectrum (400nm to 700nm). Also not to be confused with the NIR Near Infrared Spectrum (>700nm to 2,500nm). This range may be expressed differently, depending on who you ask.
Since each pixel of a microbolometer literally needs to warm up from the radiated heat of the object it is pointed at, there is a finite time associated with it. This is due to the thermal constant of that pixel. The typical time that needs to elapse before the read out electronics can measure the change in resistance of each pixel is around 8 to 12 milliseconds, depending on the detector. This can be quite long, especially for faster moving parts. There is no adjustment to this integration time, since it is a constant. Sometimes, this precludes this technology from being used in a fast production line. Images taken under these circumstances would be very blurred and temperatures reported would be a rough estimation of the real surface temperature at best. The cutoff point of whether a microbolometer can still be used depends on the field of view, resolution of the detector, total speed of the objects to be imaged, the temperature difference between known good areas and known bad areas (defects) etc. This has to be considered on a case-by-case basis. If it turns out that a microbolometer detector is too slow for a given application, you have the option to switch to a thermal camera with photon detector at a very hefty penalty in cost.
Some other aspects to consider when working with thermal cameras are that you are measuring heat. You won’t need to worry about illuminating the parts to be inspected, but you are entering a whole new world of physics. Emissivity can either be your biggest friend or your worst enemy, depending on the application and materials that you need to inspect. Emissivity is the ability of a material surface to emit energy as thermal radiation.
What is the takeaway from all of this? Integrating machine vision has just become a whole lot more interesting (and challenging)!

