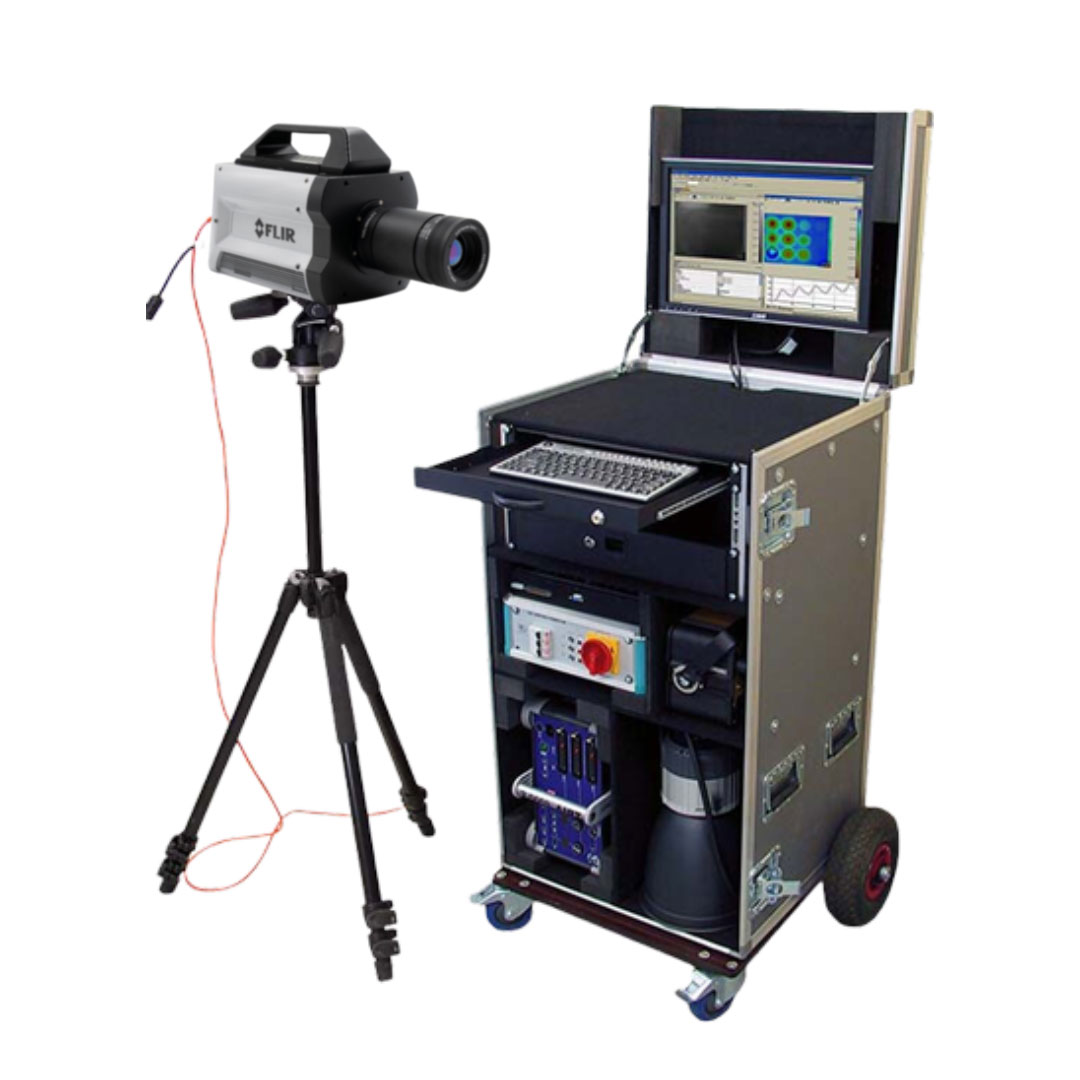
FLIR A8580 SLS LWIR Camera + Complete Active Thermography System
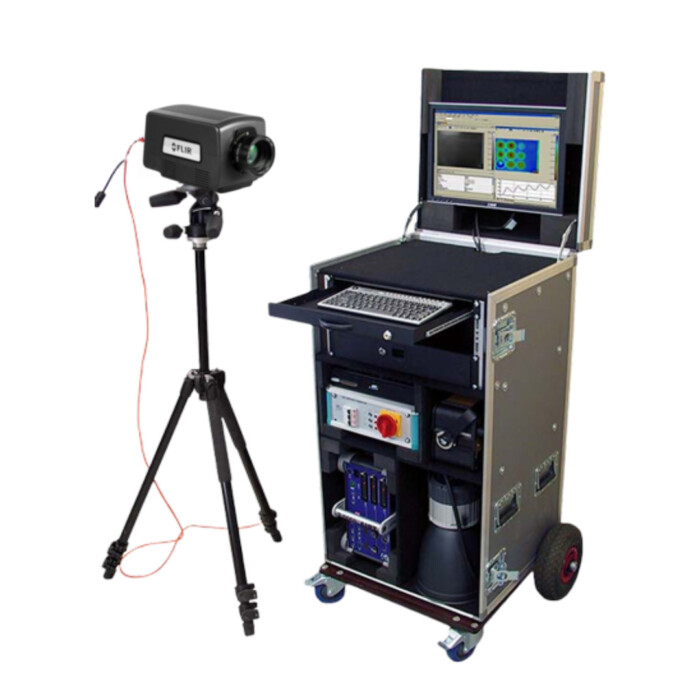
MoviTHERM’s FLIR A8580 SLS LWIR Camera non‐destructive testing systems use active thermography for the reliable detection of delaminations, impact damages, “near side” defects, water inclusions, debondings, and other defects. The system achieves precise measurements and is ideal for inspecting composites, metals, semiconductors, microelectronics, batteries, ceramics, and more.
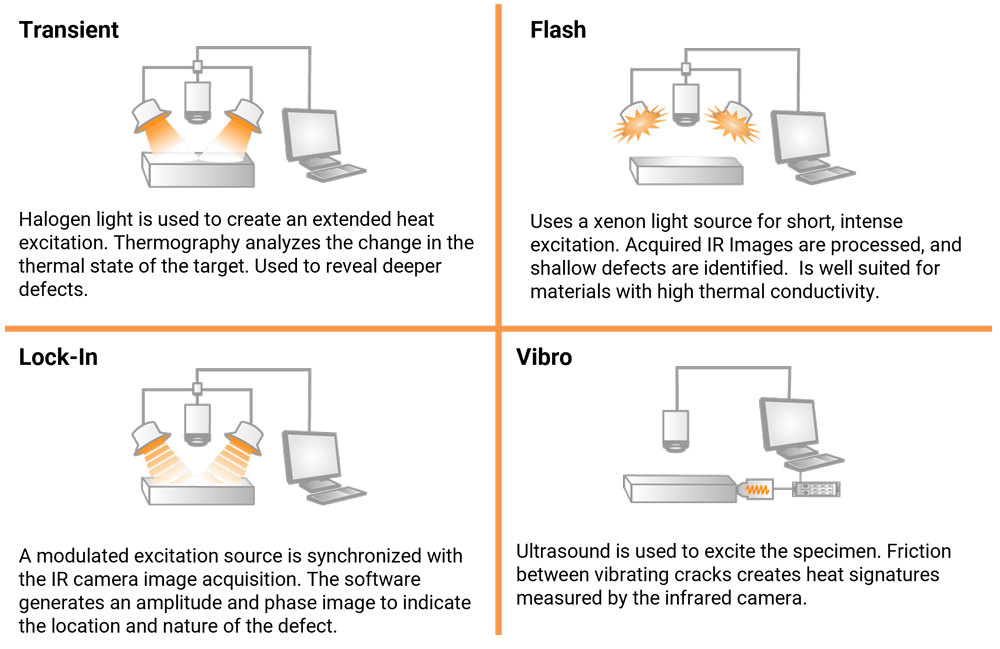
Our irNDT system accommodates a wide range of irNDT measurement methods, including: Flash‐Thermography, Lock‐In Thermography, Transient Thermography, and Vibro‐Thermography. It also works with multiple excitation sources and with cooled or uncooled infrared camera systems.
We’re here to help you!
We are an official partner!
20+ years experience!
Call us to learn more!
Specifications
Camera Specifications
| Model number | A8581 SLS |
|---|---|
| Detector Type | Strained Layer Superlattice (SLS) |
| Spectral range | 7.5 µm (lower), 11.5–12.5 µm (upper) |
| Resolution | 1280 × 1024 |
| Pixel size | 12 µm |
| Thermal sensitivity/NEDT | ≤45 mK (≤40 mK typical) |
| Well capacity | Gain 0: 3.0 Me-, Gain 1: 11.5 Me- |
| Operability | ≥98% (≥99% typical) |
| Sensor cooling | Linear Sterling cooler |
| Electronics | |
| Readout | Snapshot |
| Readout modes | Asynchronous integrate while read, Asynchronous integrate then read |
| Synchronization modes | Sync In, Sync Out |
| Image time stamp | Yes |
| Integration time | 480 ns to ~full frame |
| Pixel clock | 100 MHz |
| Frame rate (full window) | Programmable; Up to ~45 Hz (GigE), 60 Hz (CXP) |
| Subwindow mode | Flexible windowing down to 32 × 4 (steps of 32 columns, 4 rows) |
| Dynamic range | 14-bit |
| On-camera image storage | None |
| Radiometric data streaming | Gigabit Ethernet (GigE Vision), CoaXPress |
| Standard video | HD-SDI |
| Command and control | GenICam (GigE, CXP), RS-232 |
| Measurement | |
| Standard temperature range | -20°C to 650°C (-4°F to 1202°F) |
| Optional temperature range (with band-matched optics) | 250°C to 2000°C (ND1); 500°C to 3000°C (ND2) |
| Accuracy | ±2°C (±1°C typical) below 100°C, ±2% of reading (±1% typical) above 100°C |
| Ambient drift compensation (with factory calibration) | Yes |
| Optics | |
| Camera f/# | f/2.5 |
| Available lenses | Manual or Motorized (7.5–12.5 µm): 17 mm, 25 mm, 50 mm, 100 mm, 200 mm |
| Close-up lenses / microscopes | 1× (12 μm/pixel) |
| Lens interface | FLIR FPO-M (4-tab bayonet, motorized) |
| Focus | Motorized (compatible w/manual lenses) |
| Filter holder (warm) | Internal 4-position motorized filter wheel; factory installed filters |
| Image/video presentation | |
| Palettes | Selectable 8-bit |
| Automatic gain control | Manual, linear, plateau equalization, DDE |
| Overlay | Fixed configuration, can be turned off |
| Video modes | SDI: 720p at 50/59.9/60 Hz, 1080p at 25/29.9/30 Hz |
| Standard video zoom | Automatic, variable |
| General | |
| Operating temperature range | -20°C to 50°C (-4°F to 122°F) |
| Shock / vibration | 40 g, 11 msec ½ sine pulse/4.3 g RMS random vibration, all 3 axes |
| Power | 24 VDC (< 24 W steady state) |
| Weight w/o lens | 2.3 kg (5 lbs) |
| Size (L × W × H) w/o lens | 226 × 102 × 109 mm (8.9 × 4.0 × 4.3 in.) |
| Mounting | 2 x ¼" -20 tapped holes, 1 x 3/8”-16 tapped hole, 4 x 10-24 tapped holes |
Documentation
Description
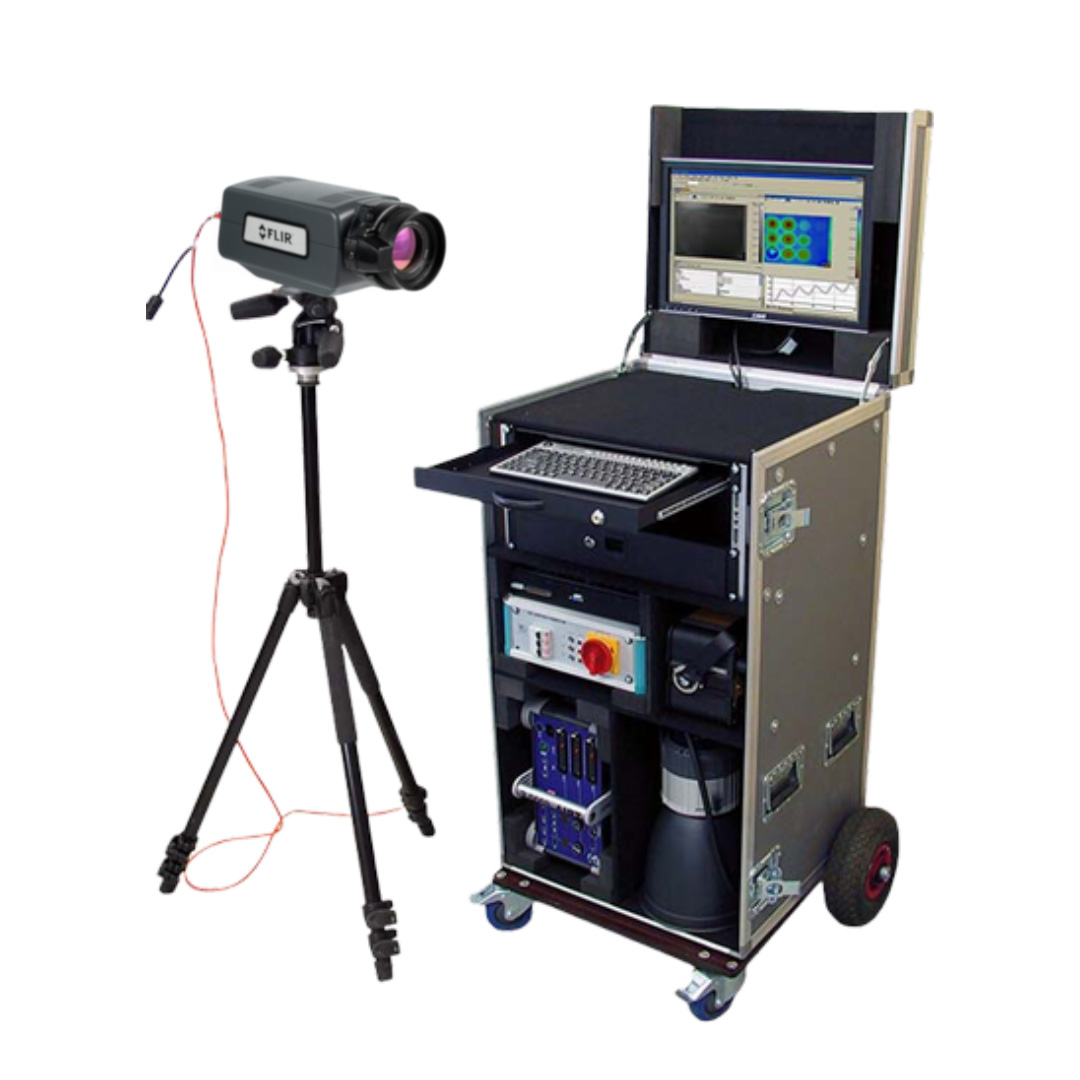
FLIR A8580 SLS LWIR Camera – Compact LWIR HD Thermal Camera
FLIR A8580 SLS LWIR cameras provide the crisp imagery, accurate temperature measurement, and streamlined analysis features needed for industrial, military, and manufacturing R&D applications. Thanks to the 1.3 MP Strained Layer Superlattice (SLS) detector and the suite of manual and remote focus lenses, users can maximize the number of measurement pixels on their target. Simple, single cable connectivity using Gigabit Ethernet or CoaXPress provides complete camera control plus data capturing in FLIR Research Studio software, allowing users to analyze and understand data faster than ever.
- Advanced Features for Optimal Flexibility: The FLIR A8580 SLS offers remote triggering, synchronization capabilities, and compatibility with a wide range of manual and remote focus lenses, including microscope lenses.
- Superior Resolution and Measurement Accuracy: HD resolution, ±2°C accuracy, and a built-in filter wheel for quickly switching to high-temperature ranges help ensure you collect accurate, meaningful temperature data.
- Simplified Analysis & Sharing: FLIR Research Studio’s simple Connect–View–Record–Analyze workflow helps you collect and analyze data quickly and collaborate with your team easily.
About the Active Thermography System
MoviTHERM’s FLIR A8580 SLS LWIR Camera non‐destructive testing systems use active thermography for the reliable detection of delaminations, impact damages, “near side” defects, water inclusions, debondings, and other defects. The system achieves precise measurements and is ideal for inspecting composites, metals, semiconductors, microelectronics, batteries, ceramics, and more.
Our irNDT system accommodates a wide range of irNDT measurement methods, including: Flash‐Thermography, Lock‐In Thermography, Transient Thermography, and Vibro‐Thermography. It also works with multiple excitation sources and with cooled or uncooled infrared camera systems.
Features:
- Non‐contact irNDT
- Works with cooled and uncooled IR Cameras
- Compatible with multiple irNDT methods
- Effective even on low emissivity targets
- Modular hardware and software
- Configurable for different geometries and materials
What is Active Thermography?
Active thermography is an effective method for non-destructive testing of materials involving the induction of heat flow in a test object by external excitation. The heat flow within the test object is influenced by internal conditions and measured on the surface by an IR camera. This technique detects not only the smallest surface defects, but also internal structural defects under the surface.
Active vs Passive Thermography
Active and passive thermography are techniques used for detecting heat patterns and abnormalities in various applications. While passive thermography relies on naturally occurring temperature changes, active thermography introduces an external energy source to create thermal contrast.
How does the system work?
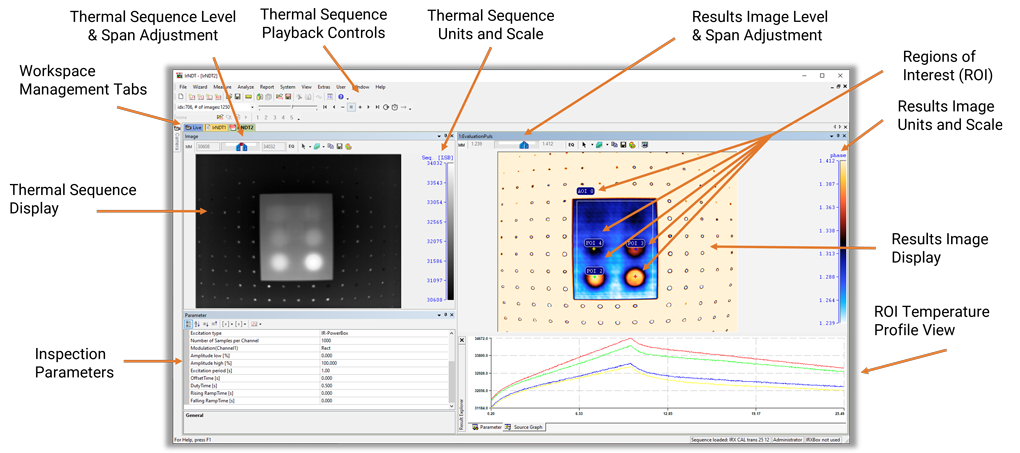
MoviTHERM’s modular irNDT system works by utilizing active thermography. A heat source provides the inspected material with a thermal excitation. The flow of thermal energy through the material has a direct effect on surface temperatures. The surface temperature is recorded over a certain time period with an infrared camera and analyzed by the irNDT software.
The software produces an image that provides information about the internal structure of the material.
- Non-Contact Defect Detection: Active thermography reveals the most subtle defects that are visibly undetectable.
- Flexible & Expandable: Upgrade a system by adding excitation sources, irNDT methods, and higher end IR cameras.
- irNDT Made Easy: Complex analysis technology is simplified for dependable inspection results.
The Software Interface
