FLIR Web Interface: A Guide to Using Measurement Tools
Quick Walkthrough for (A50/A70/A400/A700) Cameras
Thermal imaging is a valuable technology that has revolutionized many industries by enabling the detection of heat signatures that cannot be seen by the human eye. FLIR cameras are a popular choice for thermal imaging and come equipped with a variety of measurement tools that can be used to accurately capture and analyze temperature data.
In this article, we will explore the different measurement tools available within the FLIR web interface and explain how they can be used to improve the accuracy and efficiency of your thermal imaging experience. Whether you’re a seasoned thermal imaging professional or just starting out, this guide will provide you with the knowledge you need to make the most of your FLIR camera.
Video Overview
FLIR Measurement Tools
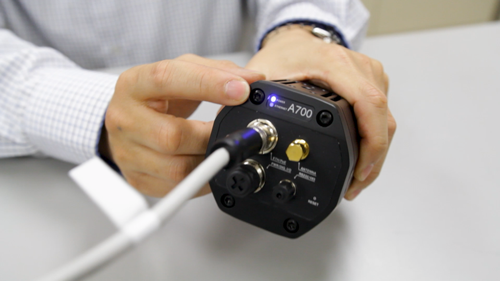
It’s important to note that the availability of measurement tools may vary among different models of FLIR cameras. Therefore, it is recommended to verify the model number and configuration of your camera to determine which measurement tools are supported.
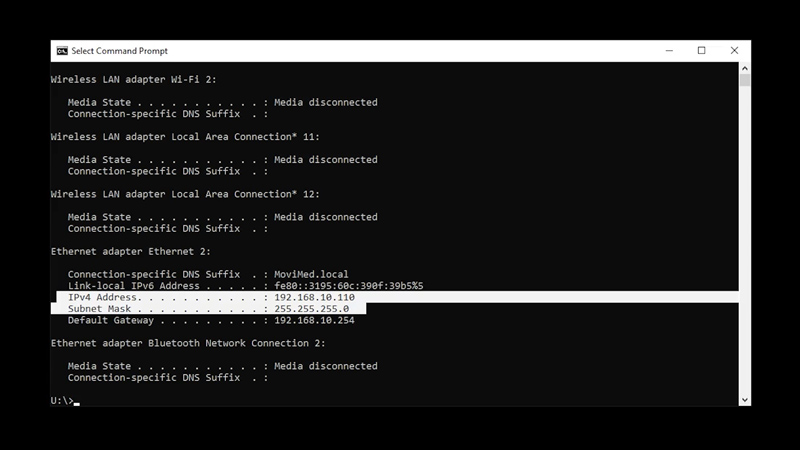
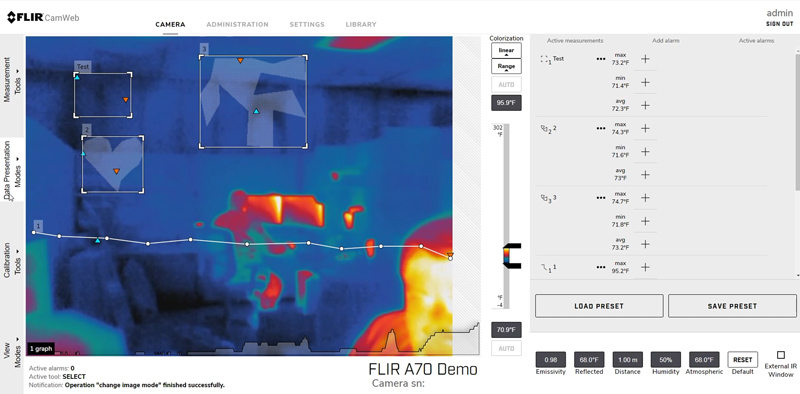
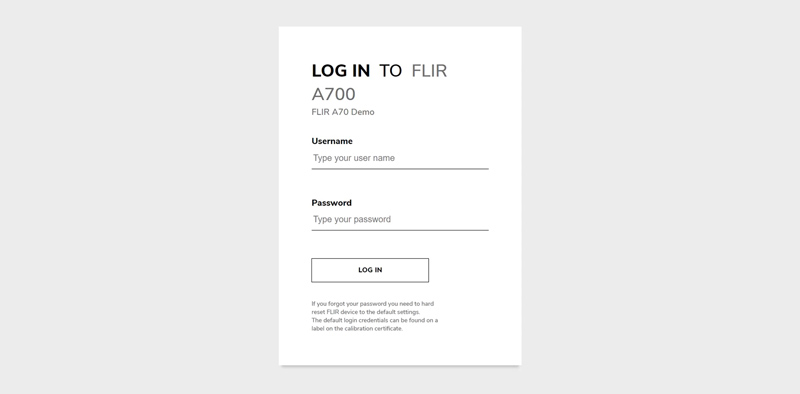
Once you have accessed the FLIR web interface by entering the camera’s IP address into your web browser and logging in, you will see the measurement tools labeled with a number for identification.
The measurement tools are numbered according to the order of their creation.
Added measurements will show up in the active measurement section, where the measurement temperatures are displayed and managed.
Select Tool
The select tool, an essential tool in temperature measurement, allows you to perform various actions such as moving, editing, or deleting any existing measurement tool on the image. It gives you the flexibility to modify the measurement tool to suit your needs without affecting the other measurement tools on the image.
Spot Tool
The spot tool is a temperature measurement tool that displays the temperature reading of a specific spot in the image. This tool is useful when you need to measure the temperature of a specific area in the image with high precision.
Box Tool
The box tool displays the minimum, maximum, and average temperature within a selected rectangular area of the image. It is particularly useful when measuring the temperature of a large area in the image.
Measurement Mask Tool
The measurement mask tool is used to capture and measure more complex shapes in the image. This tool shows the minimum temperature, maximum temperature, and average temperature within a selected shape of the image, making it ideal for measuring irregularly shaped objects.
Line Tool
The line tool shows the minimum temperature, maximum temperature, and average temperature on the selected line. It is particularly useful when measuring temperature variations along a specific path.
Poly Line Tool
The poly line tool is similar to the line tool, but it allows you to measure temperature variations along a series of connected lines drawn on the image. It displays the minimum temperature, maximum temperature, and average temperature within the poly line.
Delta Tool
The delta tool is used to calculate the difference between two temperature measurements or between a temperature measurement and a fixed temperature known as the reference temperature. This tool is particularly useful when measuring temperature variations over time or comparing two different areas in the image.
Conclusion
It’s important to remember that each of these tools has its unique features, and they can help you achieve more precise results when used correctly. With proper utilization of these tools, you can enhance your thermal imaging experience and obtain the best possible results. Remember to verify your camera’s model number and configuration to determine which measurement tools are supported. By understanding each tool’s features and how to use them effectively, you can get the most out of your FLIR camera.