How to Connect Your FLIR Camera to Your Network
Step-by-Step Guide: Connecting Your FLIR (A50/A70/A400/A700) Camera to Your Network
In this article, we will walk you through the steps on how to connect your FLIR camera to your network. We will cover how to find your computer’s subnet, how to locate your camera’s IP address, how to change your camera’s IP address, and optionally, how to change your computer’s IP address.
Video Overview
Materials You Need
To begin with, you will need the following components:
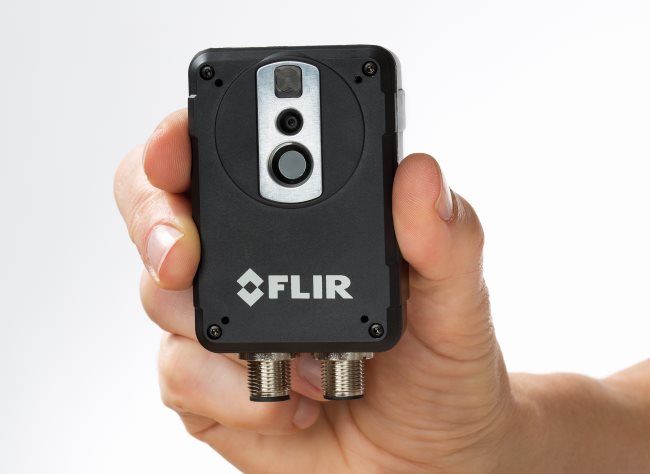
- A FLIR camera that is properly powered and connected to the correct network.
- A working computer that is also connected to the same network.
- FLIR IP Config software (link to download)
- A web browser.
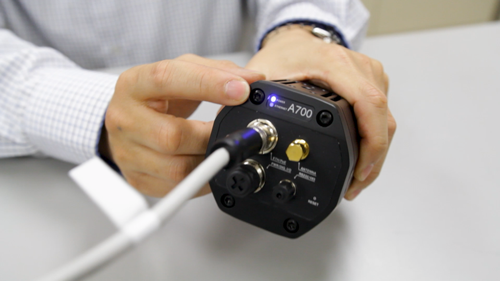
Before we start, it’s important to note that if you’re having trouble turning on the device, refer to the previous article for instructions on proper power.
Step 1: Find Your Computer’s Subnet
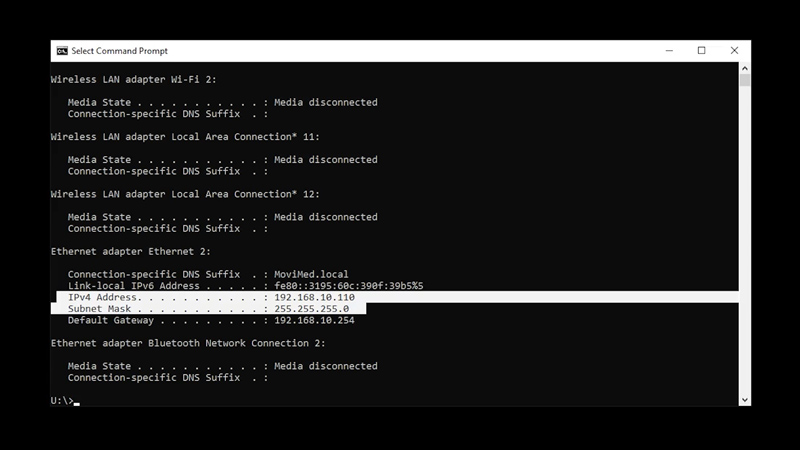
For devices to talk to each other in the same network, they must be within the same subnet. The subnet can be determined by using the command prompt application on Windows and entering the command “IP config.”
A subnet is a way to divide a big network into smaller ones. The subnet mask is a code that helps identify which part of the IP address belongs to the network and which part belongs to the device. In this example, the subnet mask is (255.255.255.0), which means that the first three sets of numbers of the IP address (192.168.10) is the network address known as the subnet. Any numbers after that are not important.
Step 2: Locate Your Camera’s IP Address
By default, most devices use a dynamic IP address known as DHCP mode and will automatically search for the correct IP address and the subnet to establish communications with the connected computer. The FLIR IP Config tool will list all compatible cameras on the subnet.
Alternatively, you can use the free Advanced IP Scanner tool to determine the camera’s IP address. To determine the IP address of your camera using the Advanced IP Scanner tool, follow these steps:
- Download and install the Advanced IP Scanner tool on your computer. (link to download)
- Open the tool and click “Scan.”
- Once the scan is complete, look for the FLIR camera on the list of connected devices.
- The camera’s IP address should be listed under the “IP Address” column.
Step 3: Change Your Camera’s IP Address (Optional)
If you need to change your camera’s IP address, use the FLIR IP Config tool.
Here’s how:
- Open the FLIR IP Config tool and select your camera from the list of compatible cameras.
- Click on “Edit” to open the camera’s settings.
- In the “Network” tab, you can change the camera’s IP address to your desired address.
- Click “Save” to apply the changes.
Step 4: Change Your Computer’s IP Address (Optional)
If you need to change your computer’s IP address, you can do so by following these steps:
- Open the Control Panel and select “Network and Sharing Center.”
- Click on “Change adapter settings.”
- Right-click on the network adapter that you’re using and select “Properties.”
- Select “Internet Protocol Version 4 (TCP/IPv4)” and click on “Properties.”
- In the “General” tab, select “Use the following IP address” and enter your desired IP address, subnet mask, and default gateway.
- Click “OK” to apply the changes.
Conclusion
In conclusion, connecting your FLIR camera to your network is a simple process that can be completed by following the steps outlined in this article. With your camera connected to your network, you can begin to explore the many features and capabilities.