Set up the IP Address on a FLIR A310 Camera
This video shows you how to set up the IP address on your FLIR A310 camera.
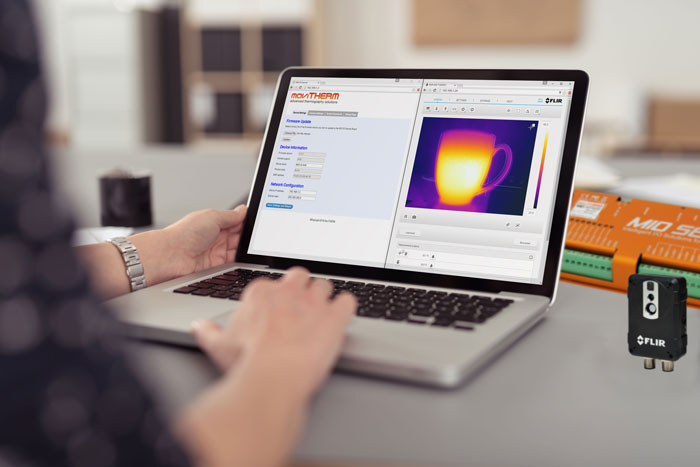
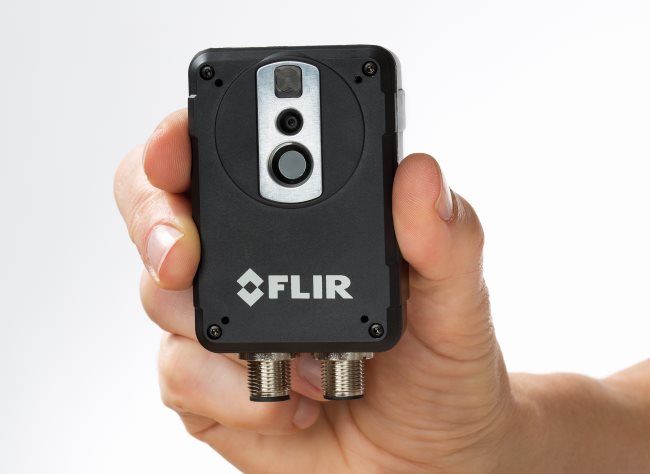
The MoviTHERM MIO Series – Intelligent I/O Module for FLIR® Cameras – supporting one of the following Camera models: FLIR AX8, FLIR FC Series R or FLIR A310
Remote Monitoring Applications Made Simple
More info about the MoviTHERM MIO Series Intelligent I/O Modules
When setting up your MIO network the camera or cameras on the network must have static IP addresses. They also must reside in the same subnet as the MIO.
The MIOs default IP address is 192.168.1.2. So, if we assign the camera IP addresses in the 192.168.1.XXX subnet.
For the purposes of this video we will assign a static IP address of 192.168.1.111 to our FLIR A310 camera so that it can communicate with our MIO.
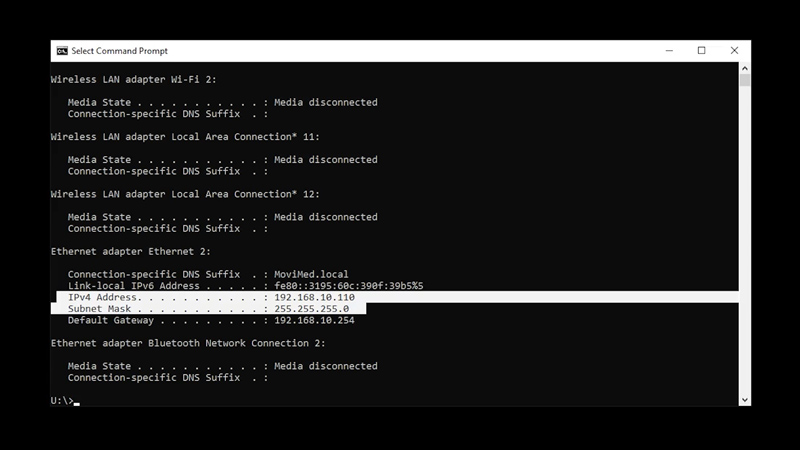
Our PCs IP address has already been set to 192.168.1.1. This will permit us to connect the pc to both, the MIO and the A310 camera after the IP addresses have been correctly configured.
Let’s start by launching FLIR IP Config. By default, the A310 camera is typically configured to obtain IP address automatically. We need to set a fixed or static IP address.
Using FLIR IP Config we can select the camera from the connected cameras list and then assign the IP address in the pop-up dialog provided.
Set the radio button to specify a fixed IP address and then fill in the target IP address subnet mask and default gateway in the fields provided. We want to assign the address of 192.168.1.111 to the camera so we will enter the IP address and subnet mask accordingly.
We also need to define default gateway field so we will enter that as well. Click the enter button to activate the changes. A warning dialog pops up to ask if you’re sure. Verify your settings and click OK.
After a moment ipconfig locates the camera at the newly assigned IP address. That’s all you need to do to set the IP address on your FLIR A310 camera.
Be sure to view the other how to videos in this series for additional tips from setting up your MIO System.

