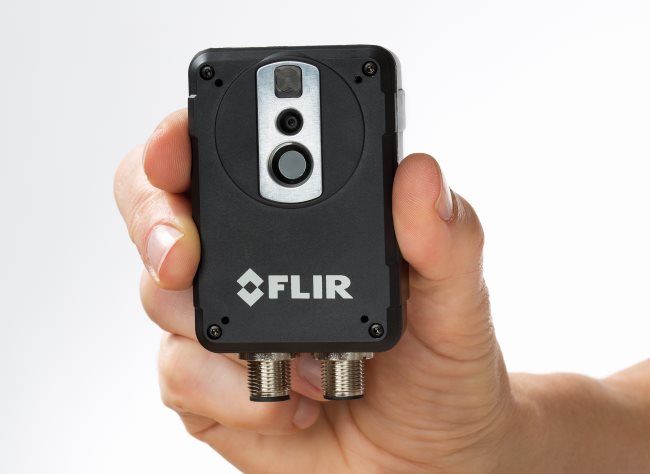
Grab an Image from a FLIR A615 Using LabVIEW
How to grab an image and display the absolute temperature from the thermal camera FLIR A615 using LabVIEW from National Instruments.
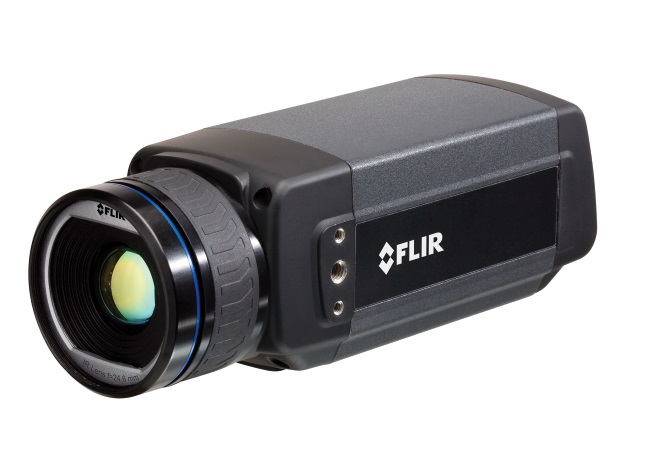
The following instructions are intended to provide some beginner level advice and it is a “Hello World” example and a first step in how to capture a thermal image from a FLIR A615 using LabView. The FLIR A615 has a Gigabit Ethernet interface and supports the world-wide machine vision standard GeniCAM.
Download the source code: FLIR_A615_using_LabVIEW.zip (257 KB)
Here is what you will need for this to work:
- A PC with a LabVIEW development environment installed.
- LabVIEW 2015 or later
- NI Vision Development Module 2015 or later
- IMAQdx 15.5 or later
- FLIR A615 Thermal Camera connected to PC via Ethernet Cable
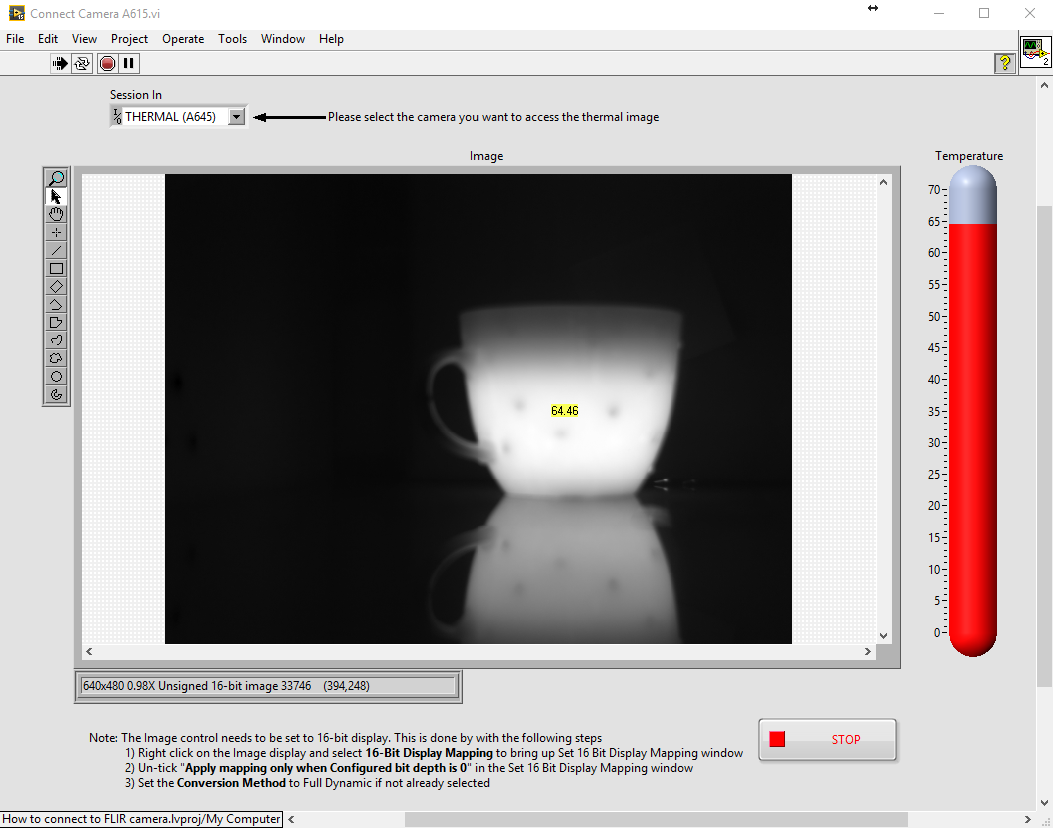
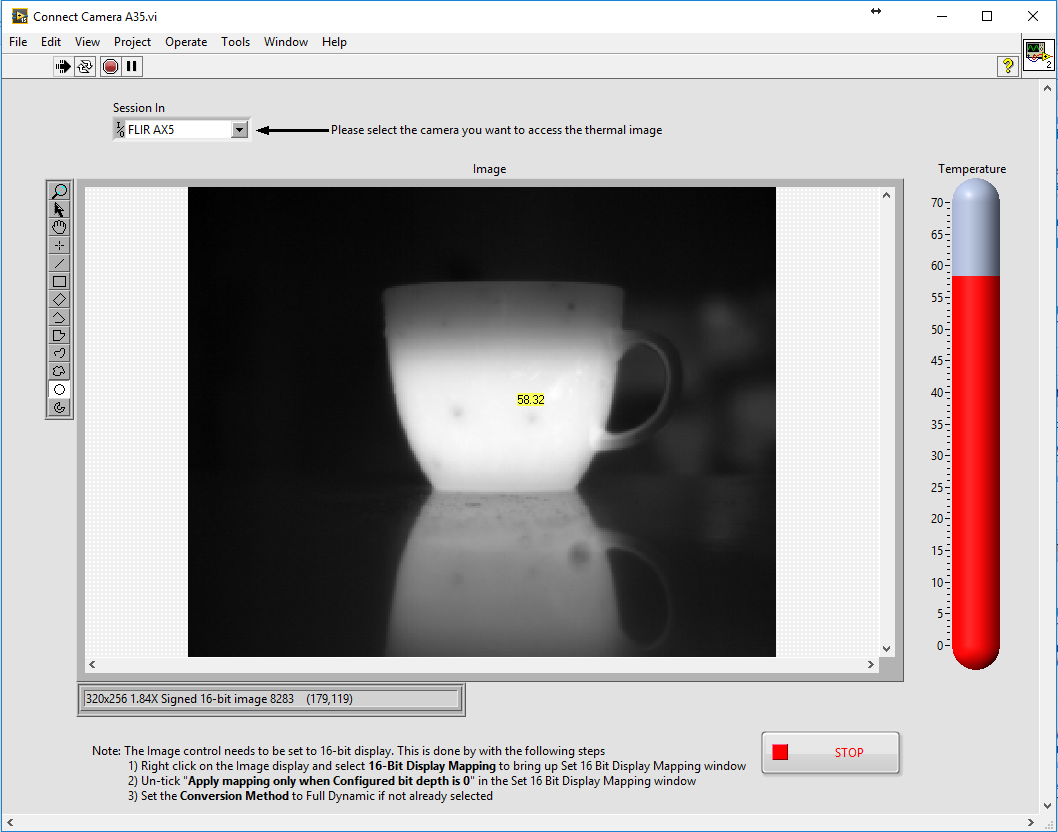
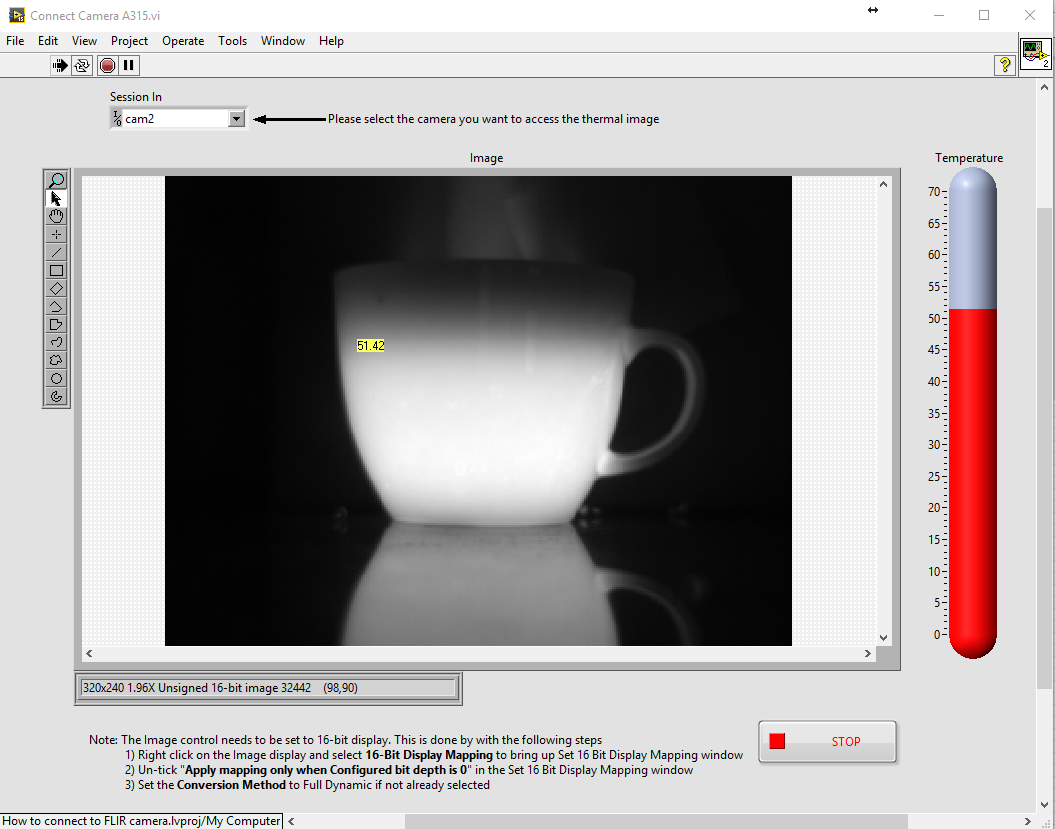
The above is a screenshot of the LabVIEW front panel. In the center is the image display, showing a black and white thermal image of a coffee mug. The brighter the intensity, the higher the temperature. The mouse cursor was placed in the center of the cup. The temperature is superimposed onto the image. The outside of the coffee mug is 64.46 degrees Celsius in this example. Also noticeable is that the image of the mug creates a reflection on the table surface. The surface is reflective in the long wave thermal band that the camera is sensitive to (8 to 14µm).
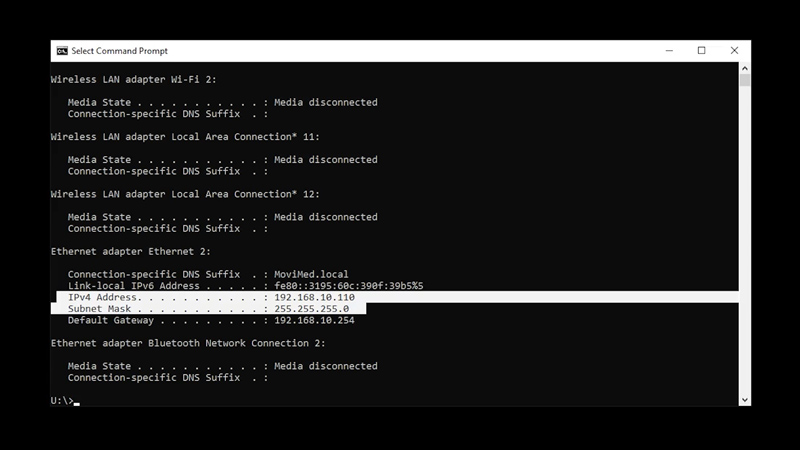
When you run the VI, it will connect to the camera. This assumes that the camera’s IP address and subnet mask matches the PC’s settings. Instructions on how to do this would go beyond the scope of this example. Once connected, you should see a thermal image after a few seconds. When you hover your mouse pointer over the image, it will display the temperature right next to it and also update the thermometer indicator to the right of the image.
Image Grab and Temperature Measurement from FLIR A615 using LabVIEW
The image below is the block diagram of the code that belongs to the front panel above.
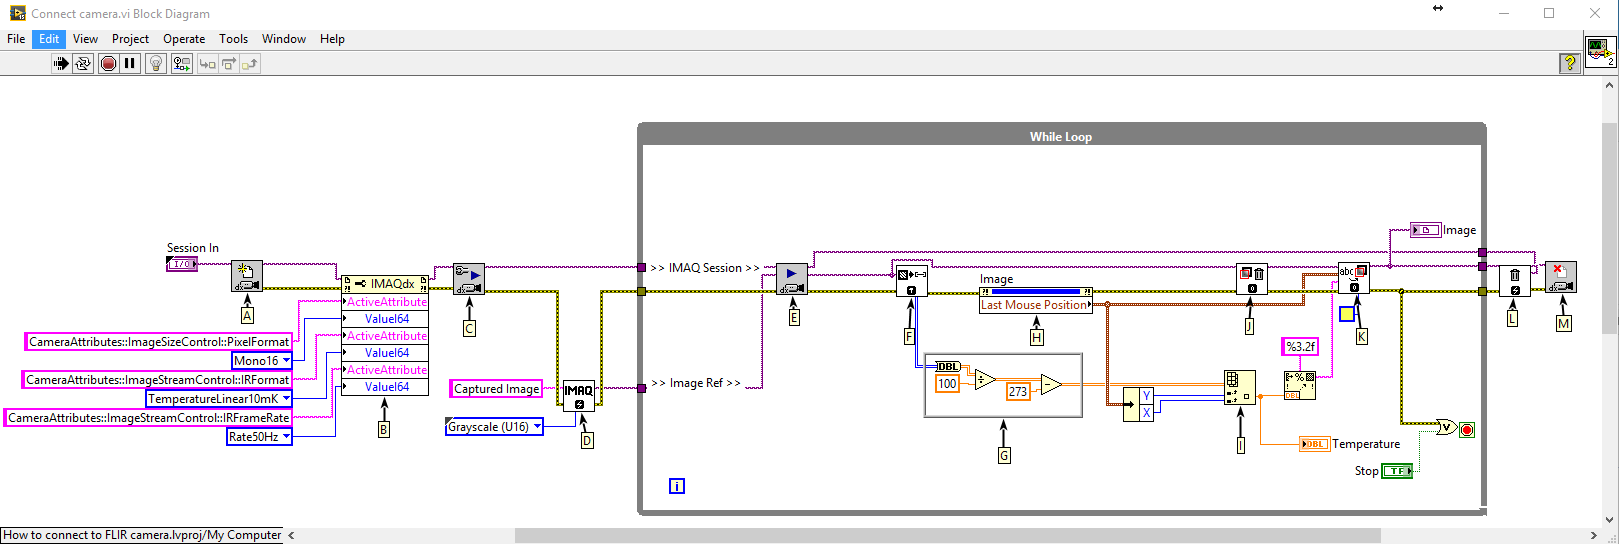
Here is how is works:
A: Open Camera VI
This VI will query attempt to connect to the selected camera. It will load the camera configuration file and create a unique reference to the camera
B: Property Node
This property node configures the camera settings via GeniCAM as follows:
1) Pixel Format:
Sets the pixel format to either 8-bit or 16-bit. In this example 16 bit format is chosen
2) IR Format:
This will give the temperature value in 10mK from the camera.
3) IR Frame Rate:
This attribute will set the frame rate of the camera. Currently it is set to 50Hz
C: IMAQdx Configure Grab VI
Sets the camera up for grabbing images.
D: IMAQ Create VI
Is used to create a reference in memory to store the images, streaming from the camera
E: IMAQdx Grab2 VI
Is used acquire the most recent frame from the given memory location
F: IMAQ ImageToArray VI
Is used to convert the image to a 2D array
G: This function converts from 10mK to Celsius (Note: this can be replaced to calculate the temperature to Fahrenheit)
H: This property node will extract the location of the mouse cursor in the image
I: Index Array VI
Is used to extract the temperature at a given location of the mouse pointer and display it on the front panel
J: IMAQ Clear Overlay VI
Is used to remove the previous overlay
K: IMAQ Overlay Text VI
Is used to write the temperature value at the location of the mouse pointer
L: IMAQ Dispose VI
Is used to clear the memory that was allocated to store the image
M: IMAQdx Close Camera VI
Is used to close the unique reference that was created to communicate with the camera

